This tool is the most efficient way for you to optimize your semester’s schedule and maximize your time.
College Scheduler generates a variety of daily schedules to fit your needs based on criteria you input, such as campus location, desired courses, and work breaks.
We are currently Beta testing this new tool, and we encourage everyone to test it out!
How-To Guides:
Video Tutorial
Step-by-Step Guide
Step 1: Get to College Scheduler
Click on the “Use College Scheduler” button above or visit: https://nocccd.collegescheduler.com/
Step 2: Login into College Scheduler with MyGateway
Log onto MyGateway with your MyGateway ID (also known as your Banner/Student ID) and your password.
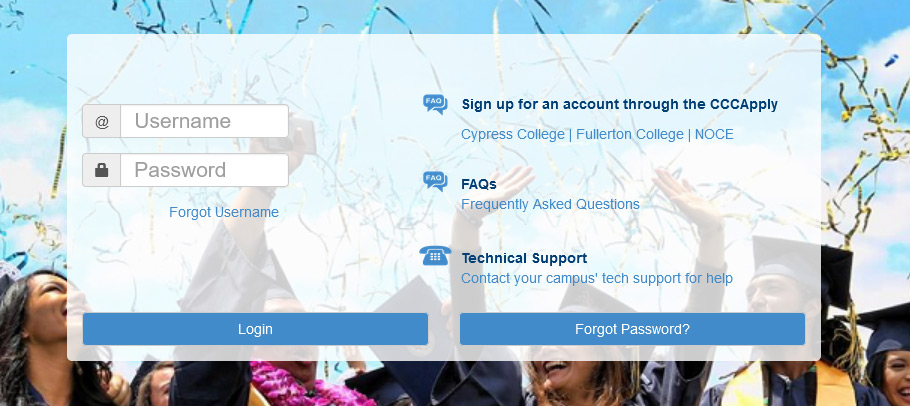
Don’t know your MyGateway ID?
Click on the “Forgot Username” link on the MyGateway site.
Don’t know your password?
Click on the “Forgot Password?” button on the MyGateway site. ![]()
Still need help or have questions? E-mail StarHelp at starhelp@noce.edu or call StarHelp at (714) 808-4679.
Step 3: Choose a Campus
When you first log in, you will be prompted to choose a campus. Your selection can be changed later.
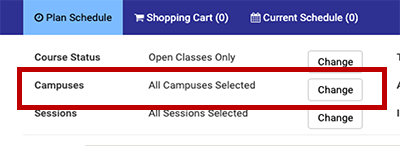
Step 4: Filters (Optional)
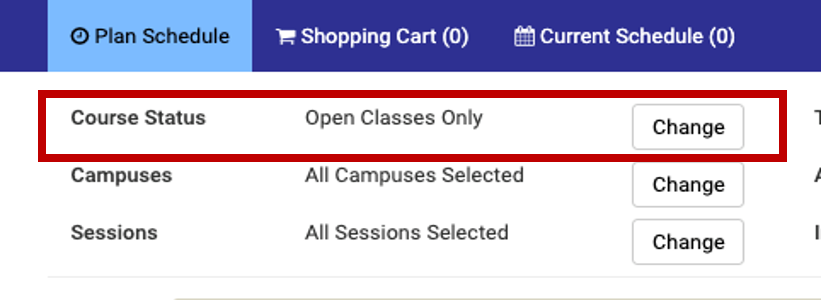
Filter courses by status (open/full/waitlist) and delivery method (in-person, hybrid, online) using the buttons labeled change at the top of the page.
Step 5: Breaks (Optional)
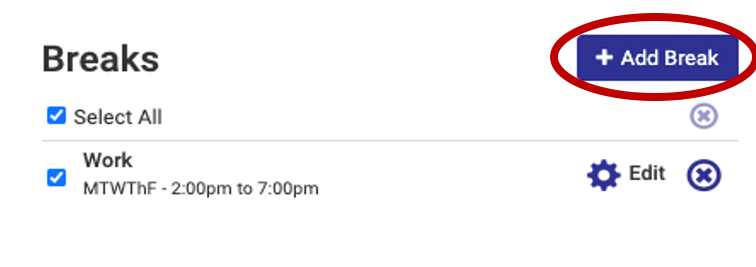
Click add break and add any times you aren’t available for class, such as work schedules, co-curricular activities, family obligations, etc.
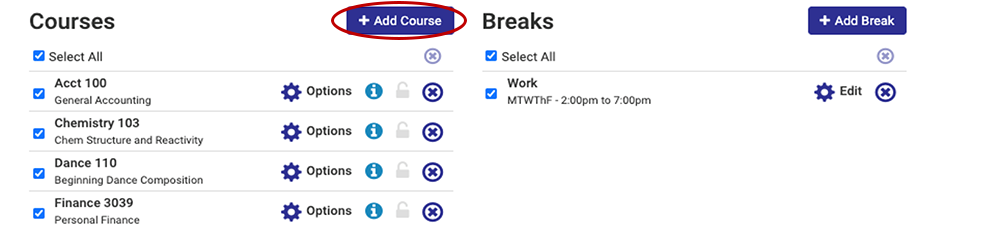
Step 6: Add Courses
Click Add Course to start adding courses. Find courses by subject, attribute, instructor, or Degree Works plan. Click add course to include courses in your schedule, then click done to return to the main screen.
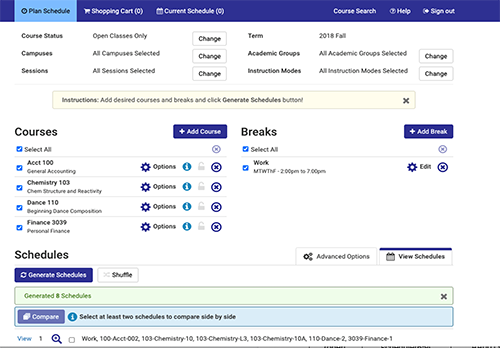
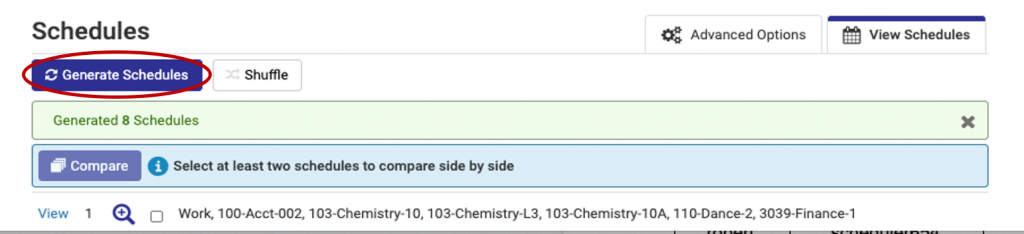
Step 7: Generate Schedules
Clicking Generate Schedules will find all potential schedules based on your filters, breaks, and added courses.
- Preview a schedule: Hover over the magnifying glass to see when classes are offered in that schedule.
- Compare schedules: Check the checkboxes of up to 4 schedules and then click compare to view schedules side by side.
- View a schedule: Click view to see full details about each course in that schedule.
- Locking a section: Locking a section will remove other potential schedules without that particular section. Lock a course if you know you want to enroll in that particular section.
- Favorite a schedule: Clicking the heart icon will save the schedule so you can easily refer back to it later.
Last Step: Register
While viewing a schedule, click Send to Registration Cart. You will be taken to your cart, where you can then click Register to register for all of the courses in your cart. Any error messages regarding prerequisites, course availability, and more will be shown during this step.
Contact StarHelp for Assistance!
 Phone: (714) 808-4679
E-mail: starhelp@noce.edu
Hours: M-Th 7:30 a.m. – 7 p.m.
Fri 7:30 a.m. – 4 p.m.

Frequently Asked Questions about College Scheduler
-
If I have a plan set up in Degree Works, how do I register for those courses in College Scheduler?
To register for classes based on a plan in Degree Works, choose the ‘add course’ button, then select the ‘Degree Works Plan’ tab. Use the drop-down menu to select the appropriate plan. We encourage you to review your plan with your counselor if you have any questions.
Need to contact a counselor? Call the NOCE Counseling Offices at (714) 808-4682 or e-mail at counseling@noce.edu
-
If I want to plan ahead of my registration time, can I do this?
Yes! College Scheduler is available to students to use to plan schedules about three weeks before registration begins. After choosing your campus, adding any desired breaks, and adding the courses you want to search for, click on ‘generate schedules’. When you find a schedule, you prefer or want to save, click on ‘view’ and then click on the heart icon at the top of the screen. This feature allows you to name and save this schedule. When it’s time to register, simply log into College Scheduler through MyGateway, look for the ‘favorites’ tab next to the ‘Schedules’ section and send it to your registration cart.
-
Can I share my schedule with my counselor or family members?
Yes, if you feel comfortable sharing your schedule with others, you can use the ‘email’ feature to share your schedule. After you generate your schedules, click on ‘view’ to navigate to the detailed view, then choose the ‘email’ option at the top of the screen.
-
How do I drop or withdraw from a class?
To make changes to your schedule, click on the ‘current schedule’ option at the top of the screen. Choose ‘edit or drop classes’ to drop or withdraw from your class. Remember, you’ll be eligible to make changes to your classes according to the Registration Calendar.
-
I’ve selected my campus, added breaks and the courses I want to search for but when I choose ‘generate schedules’, there are no available sections or options. Why?
Some courses are only taught at certain locations, during certain semesters, or as online classes. We suggest adjusting the filters at the top of the screen such as course status, delivery method, or parts of term. You may also need to adjust the breaks you’ve requested. This video shows other options to consider when generating potential schedules.